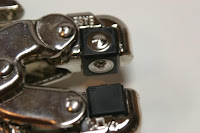
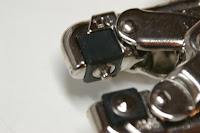
First, set your Crop-A-Dile to A-1 ...
A Setting on the left

1 Setting on the right

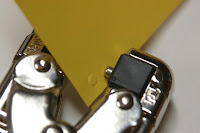
Next, place your cardstock so that the side you want to feature the 'brads' is facing the 1-setting (on the right).

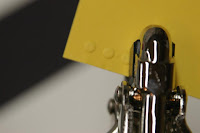
Lightly squeeze to create your embossed 'brads.' Be careful not to squeeze too hard - if you do, you'll punch a hole through your cardstock.

Have fun with your Crop-A-Dile!
Update: Here are a couple tips for aligning your embossed 'brads' ...
- To help with horizontal alignment, slide the cardstock all the way in to your Crop-A-Dile to make sure all 'brads' are embossed in an even row on your cardstock.
- To help with spacing between 'brads,' line up the black edge of your Crop-A-Dile's setting block (the blocks labeled A or 1) with the edge of the previously embossed 'brad'
3 comments:
what is your secrect for getting them to align so nicely?
How great, thanks for the information.
What a great idea! I'll have to try this!
Post a Comment